10 Tips for Creating a Vegan Grazing Table
- Admin

- Dec 11, 2020
- 6 min read
Updated: Dec 14, 2020
This is a bumper blog post, packed with inspiration and ideas for dining in style and of course 100% vegan too!

Here's one I prepared earlier!
I used to work in events, and we often used to cater for guests on a large scale. I have seen it all, from simple bowls of crisps, right up to fine dining banquet. This year is an odd one. We're all so ready for it to end, but also a little perturbed by the impending fear of lockdown. Either way, it won't be the Christmas any of us would have expected back in January!
Grazing tables seem to have gone from a rare sight, to a fully fledged craze. They're popping up here there and everywhere. There are so many amazing grazing board/table companies who can cater for events. Food and setup time is included in the cost, and can range depending on the food/ingredients used.
Due to restrictions on gatherings, I decided that this year, I would have many of my gatherings at home. Great food is always at the centre of what I do, so I decided to create my own grazing table. And in this blog post, I will share with you my tips on how to create your very own grazing table!
The great thing about grazing tables, is that, they look way more impressive than a traditional buffet, but there is also less clean up as you can pop the food items directly onto a clean surface.
On to my top 10 tips!
How to Create a Grazing Table
1 - Set a Budget

It's very easy to get carried away when creating any kind of buffet, so it's best to be realisic and determine what your budget will be. It will also make sure that you don't buy too much. Work out how many guests you are feeding and whether the grazing table will be starter, mains and dessert, or just one element. The table in my picture could easily feed 10-15 people and includes sweet, savoury and canapé style food.
After you have set your budget, you can then look into food
2 - See What You Already Have

Even if budget isn't an issue and you're ready to splurge, it makes sense to do an audit of what you have that will save you from buying stuff you don"t need!
It's easy to forget small things such as containers, platters, cocktail sticks, tongs, decorations etc, etc!! Write a list of anything you will need to ensure guests can eat comfortably and are able to pick up items without using the same knife to cut cheese as they do to cut cake. Regular plates can be used or you can simply give reusable napkins instead. This way, there is less rubbish created (yay for sustainability), and you have less to wash up or clear away when the party is over. Old jars are handy for breadsticks, cocktail sticks, sweets and other small items. Wrap a little ribbon around them to create a festive look that matches your table decorations.
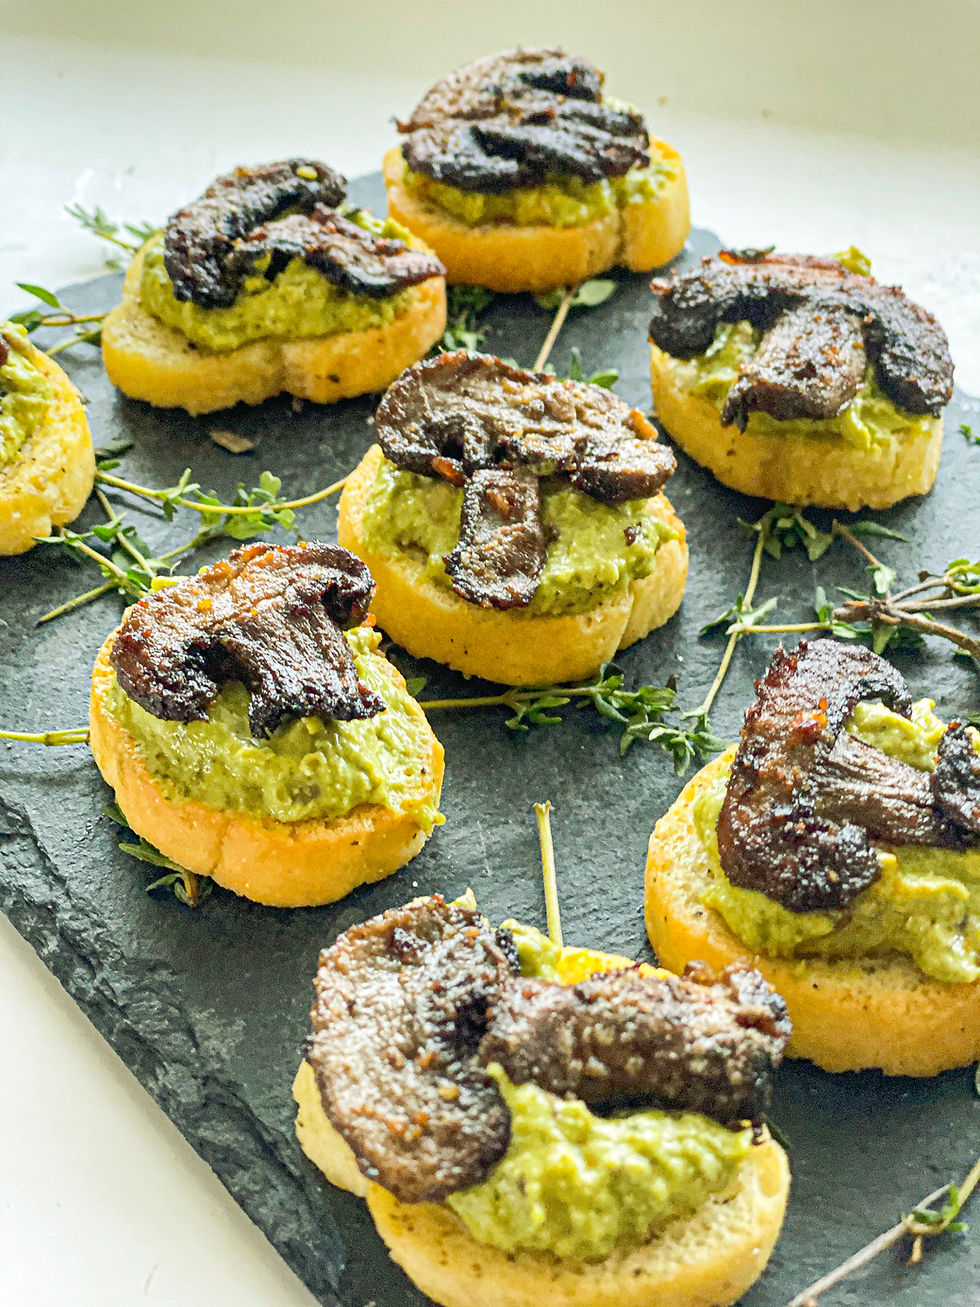
A lot of foods can be created using items you wouldn't think about. Pestos, frozen veg and fruit and even tinned produce can be transformed into delicious small bites. (And my next blog post has some great ideas on what to make!).
Once you have established what you have, and what you can do with it. You can then start looking at what needs to be purchased
3 - Plan Your Theme

Have a think about what theme you will stick to for the table. For a festive table, stick to a few colours and try to buy seasonal food items to match the overall idea. Look on Pinterest, Google or Instagram for some inspiration. What will you need to bring it to life? Garland? Lights? Props? Themes Cutlery?
4 - Make a List

As mentioned earlier, it's easy to get carried away if you don't keep a list and budget for your grazing table. I recommend making separate lists for cheese board items (vegan cheese, vegan meats, crackers, chutneys, breads, dried fruit, pickles etc). Crackers are a great way of creating nice shapes and are great for filling up space, while also being a great accompaniment to a variety of items. Dips are also great as they too can be paired with lots of things.
Fresh fruit, salad and vegetables are vital as, not only do they look good, but they are also refreshing when the majority of the table is likely to be starches, carbs, grains and pulses. Crisps and nuts are always popular too.
If you're creating party canapes/mini bites, plan them carefully and don't go too mad as this can drive up your budget and time factor.
You can include sweet foods such as chocolates, cake bites etc or set up a dedicated dessert station with cakes, sweets and other items.
5 - Keep it simple

It's all very well planning the perfect table. But if your choices are overcomplicated, you may find that you will simply run out of time. When preparing food, the majority should have minimal prep and should be able to go straight onto the table. Any items that need to be assembled/made up, should be done ahead of everything else and stored in the fridge. Anything that needs to be eaten straight away, they can be prepped ahead and assembled just before guests arrive.
6 - Zone the Table

Make a rough guide for yourself of where you want to place everything on the table. I like to have a dedicated zone for each group of items. I also prefer to keep food together based on how they go together. But this is just my preference. It's your grazing table, so you can mix it up if you want.
I tend to apply some level of rough symmetry to the table. For example, in my photo above, you can see there is a table runner down the centre, with my green and gold garland, with baubles. I then added grapes, figs and berries to add some little jewels of colour.
I have placed my dips and chutneys either side in a off-symmetrical fashion. I have then placed cheese/meat grazing boards roughly diagonally to one another and grouped other items together in their own little areas. I like to leave a little gap between the groups as it creates a nice opportunity for them to stand out.
I then begin to pad out my table with fruit, pretzels, chopped vegetables, bread and sweet items.
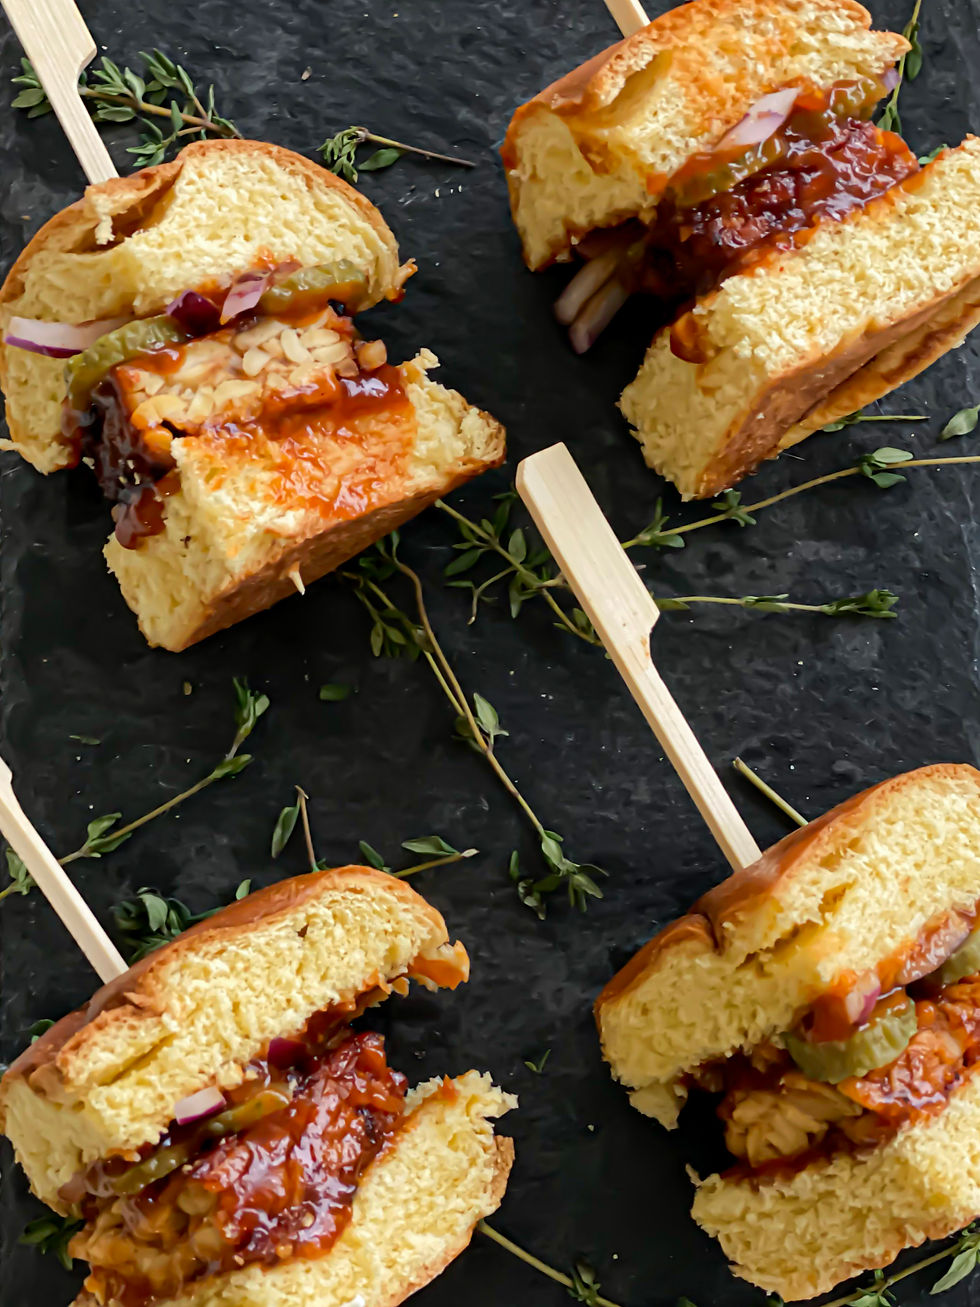
A nice idea to help with zoning your table is to write little markers on the table covering (if you are using paper of course). This can also help guests to see what they are being served. For example 'Cheese Board' 'Pea Hummus' 'Sliders' 'Tacos' 'Something Sweet' Make sure if you do create this idea, that you ask someone who has good handwriting or it will look a mess.
7 - Prep Ahead

Before you begin placing items on the table, make sure you prep everything. Don"t leave assembly to the final hour. Chop veggies, cut cheese, take items out of their packets and jars. Portion out the crackers, crisps, bread etc and keep them covered until it's time for placing. Your benches will be full of food, but when it comes down to the moment of creating your table, you will be happy you did it.
8 - Give Yourself Plenty of Time

I recommend giving yourself 2-3 hours to set up. Yes I said that. You may not need it and you can spend the rest of the time clearing up. But trust me, it's better to over prepare than the alternative. You will also have time to tweak the design or improve the layout it needed. If you have Pinterest, Instagram or Google pics, have them on hand to keep you on track. It's easy to feel overwhelmed, so take your time and stick to your plan.
9 - Buddy Up

I recommend having another pair of hands to help with the set up. As long as you are clear on how you want the end result to be, then you can ask the other person to gather while you place, or take on one portion of the table while you take on the other. It's also good to have another pair of eyes on the proceedings as it can be difficult to know if the design works.
10 - Be Proud

Always be proud of your work. And don't worry if it's not perfect. Nobody will know as they didn't see your plans. Just be proud that you created it. And don't forget to take pictures!
Coming Up:

In my next blog post, I will be showing you some delicious party food ideas. They are perfect for a small buffet or as part of your grazing table. Each one takes just a few minutes to assemble and all of them are created with 5 ingredients or less. They're beginner friendly and vey tasty, so stay tuned.
Stay up to date with my foodie faves. Join as a member to receive email updates when I create blog or recipe posts. I also post Instagram/Facebook-only content. Click here to head to my Instagram or Facebook pages.
Check out my previous blog post including a vegan essential shopping list and meal planner here


Comments